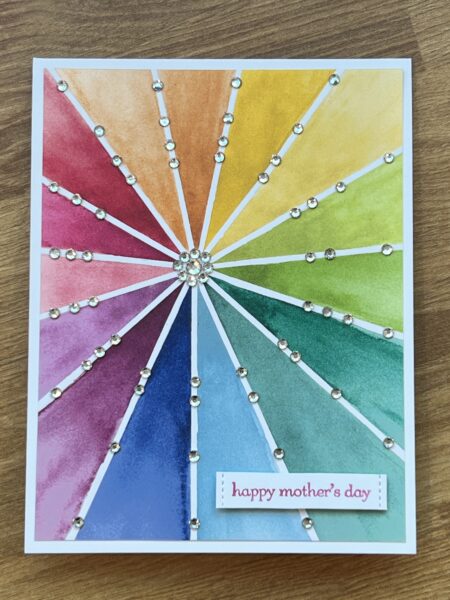
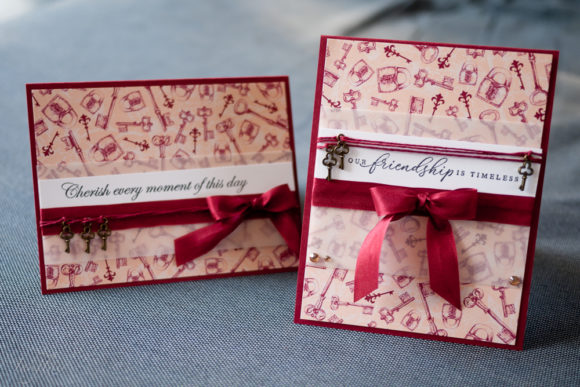
Still going crazy with the rhinestones and my favorite new Designer Series Paper from the 2024-2025 Stampin’ Up annual catalog! I did something very similar […] Read more »
Still going crazy with the rhinestones and my favorite new Designer Series Paper from the 2024-2025 Stampin’ Up annual catalog! I did something very similar […] Read more »
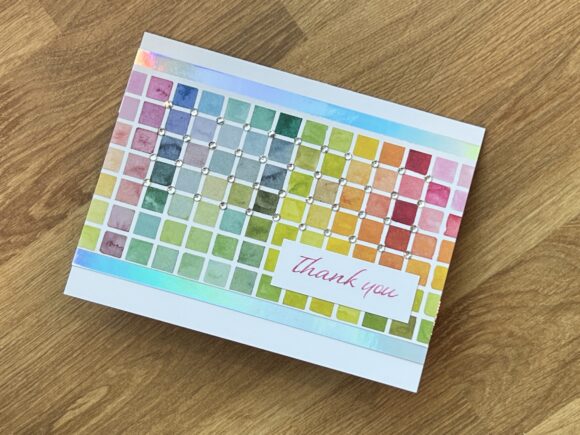
Going a little overboard with rhinestones today! I made this card with the new 6”x6” Full of Life Designer Series Paper from the Stampin’ Up […] Read more »
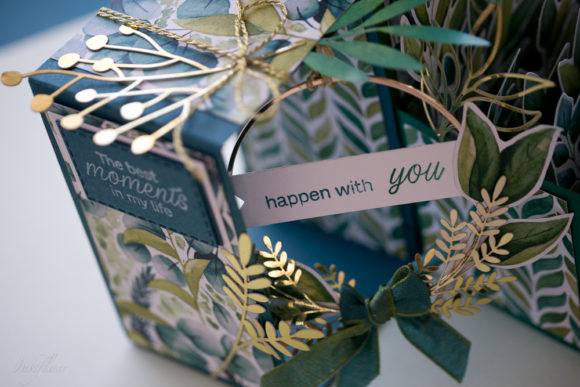
Hello, welcome to the Stampin’ Pretty Pals’ Blog Hop! This month our Design Team is showcasing “Gifts From the Garden.” We hope you enjoy and […] Read more »
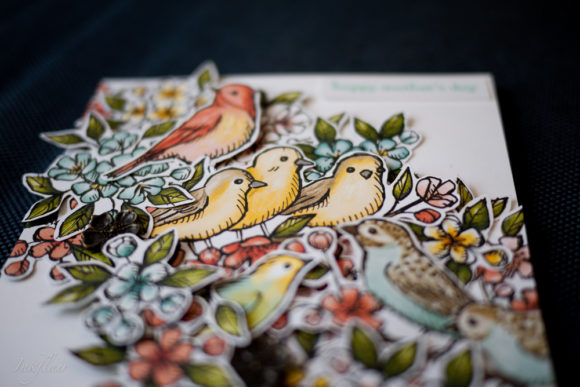
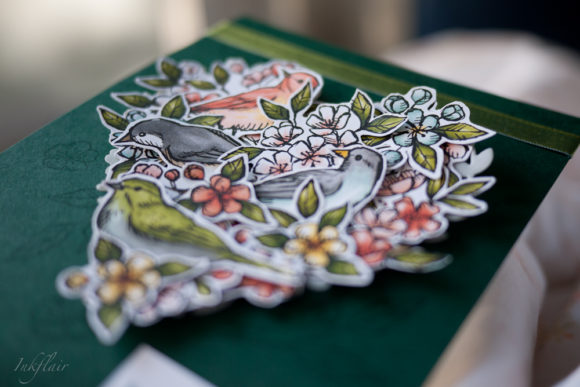
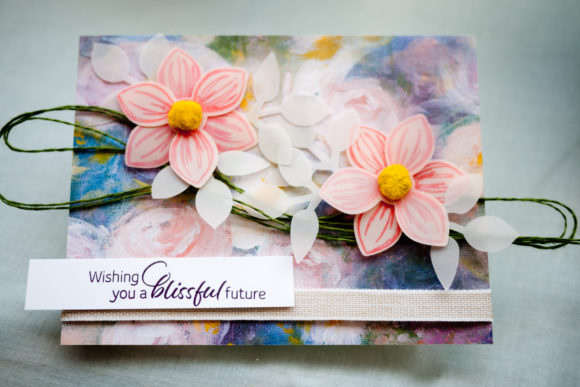
I’m trying to get back into card-making after taking a break for a couple of months, so I’ve been making a couple of cards for […] Read more »
Welcome to the Pals’ Blog Hop! We’re so glad you’re here. You may be starting the hop here or coming from a previous Pal’s blog. […] Read more »
Just a quick post today about a decidedly non-quick card to make! I started this card in January when I decided to play around with […] Read more »
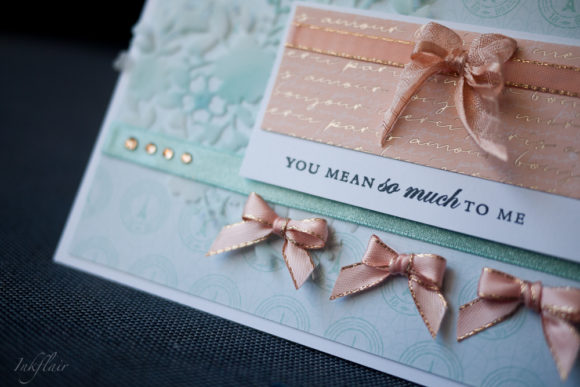
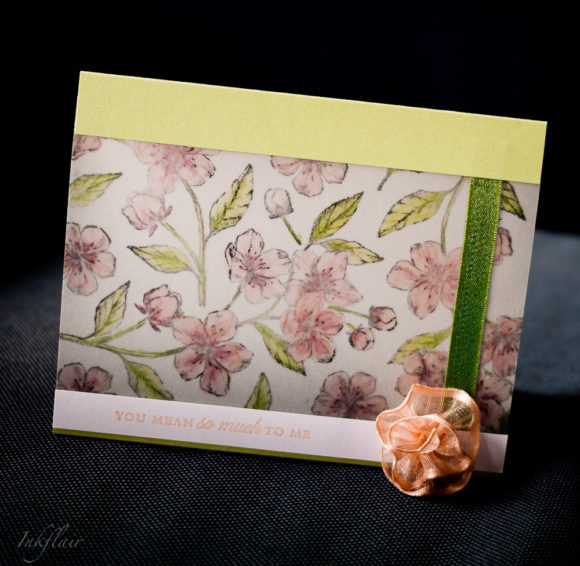
With this card I went a bit wild using a lot of the elements of the Parisian Blossoms Suite from Stampin’ Up: there is the […] Read more »
I wanted to make a Valentine’s day card that is a bit of a departure from the usual pink and red color scheme, and this […] Read more »
I admit I was not completely won over by the Parisian Blossoms Designer Series Paper when I first saw it in Las Vegas last November. […] Read more »
I’ve been experimenting recently with what I call un-mailable cards (very impractical because I actually send most of my cards through the mail), because they […] Read more »